← All videos
Survive a Node Failure — Live HA Failover
Kill a node mid-traffic. Watch a replica take over. No data loss, no downtime.
4 minWatch on YouTube ↗
Watch it, or read it
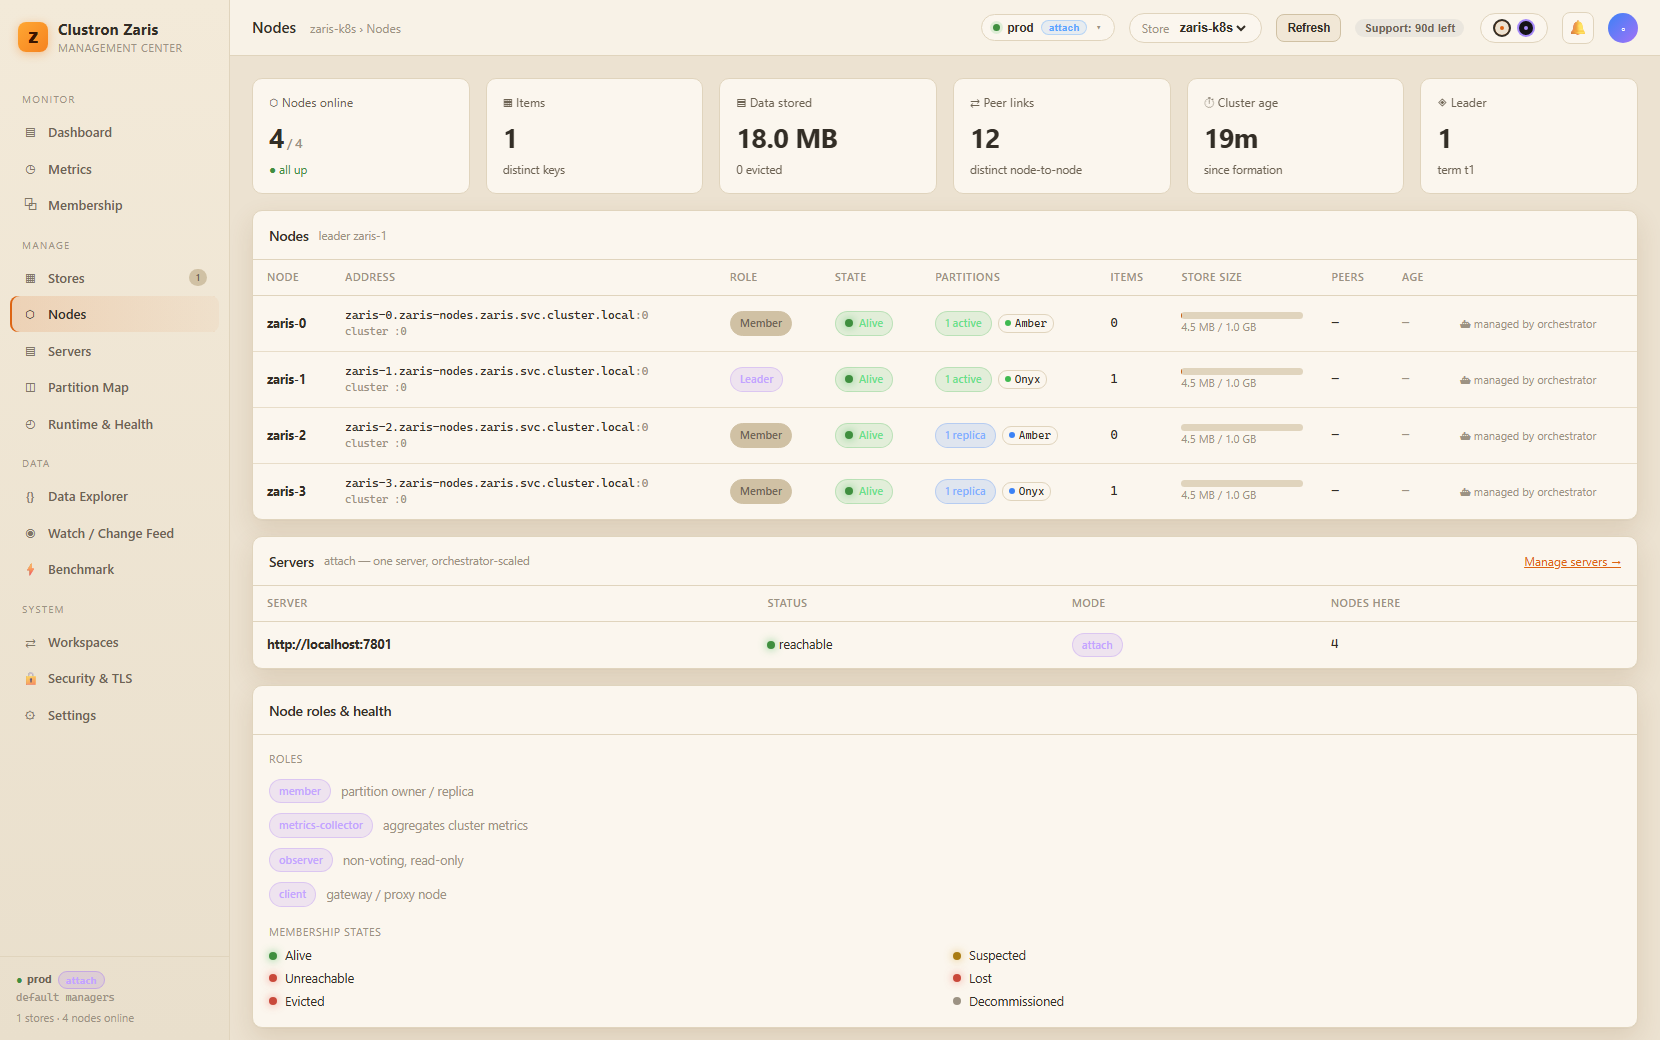
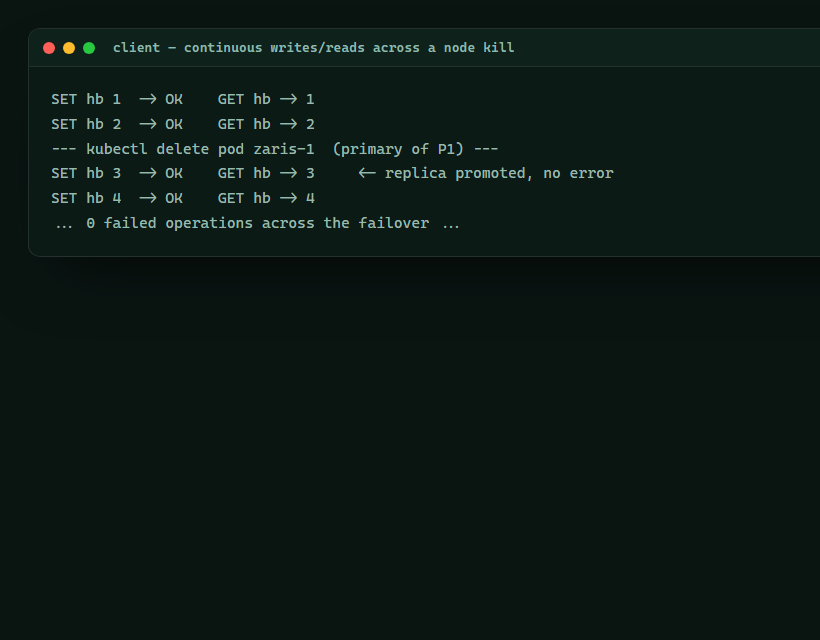
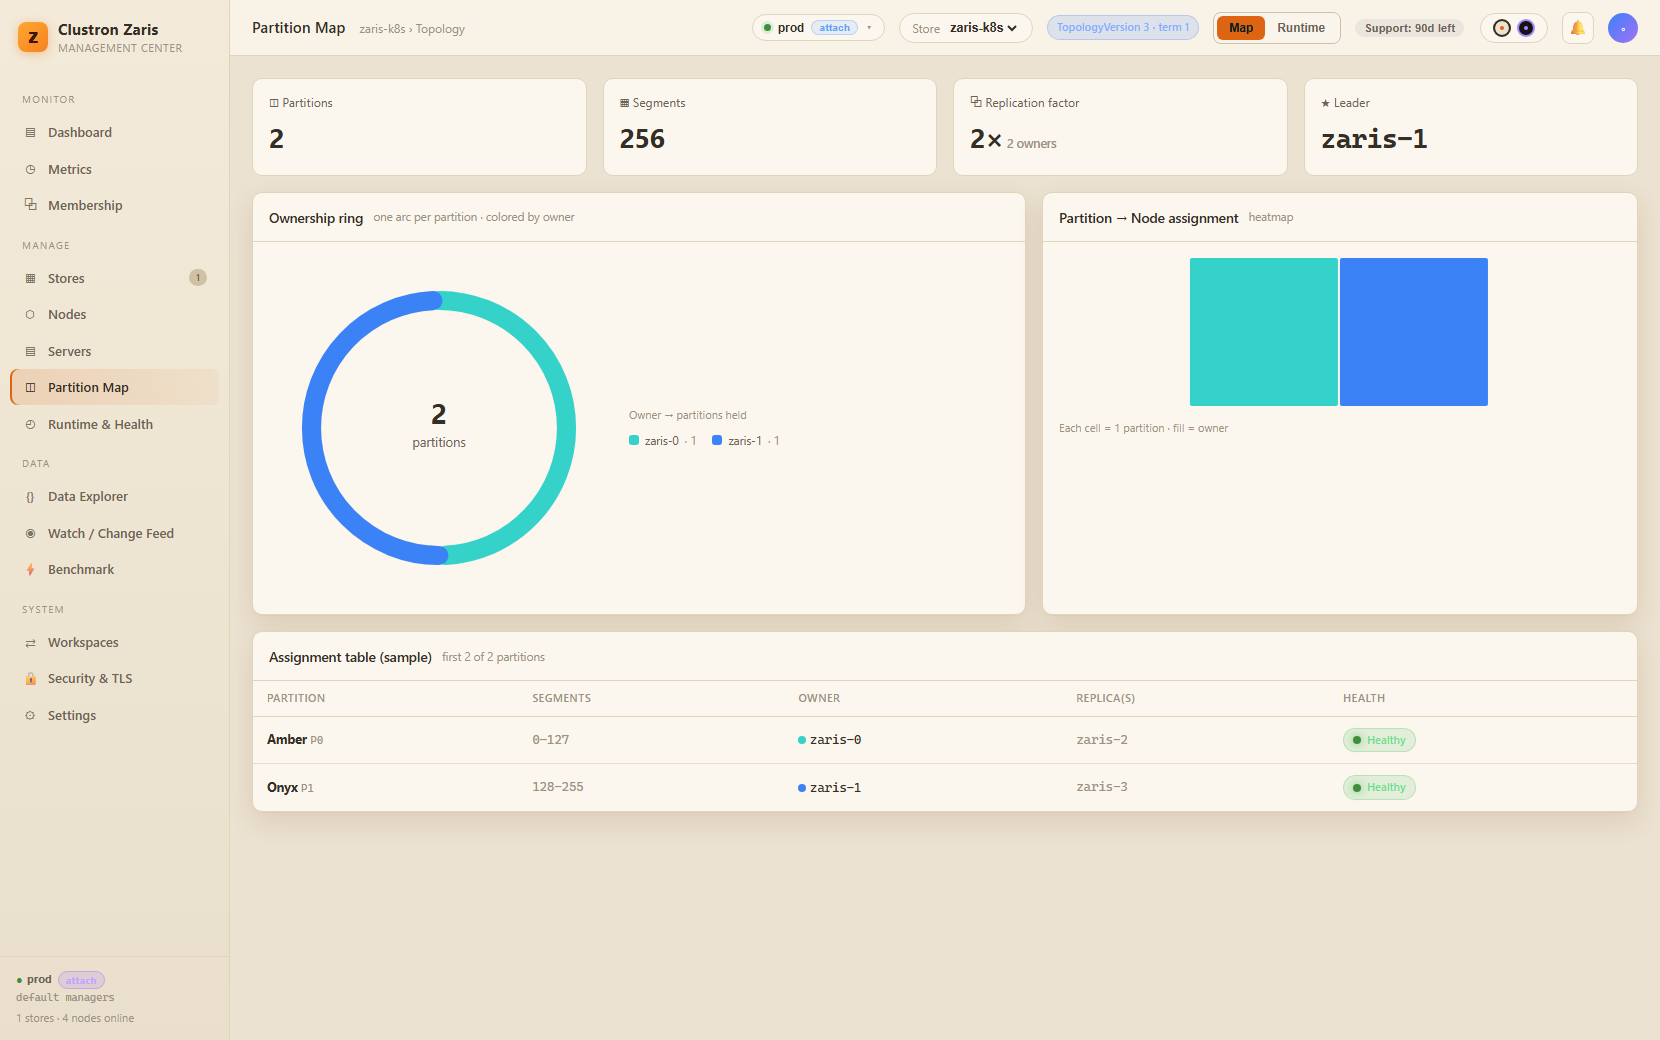
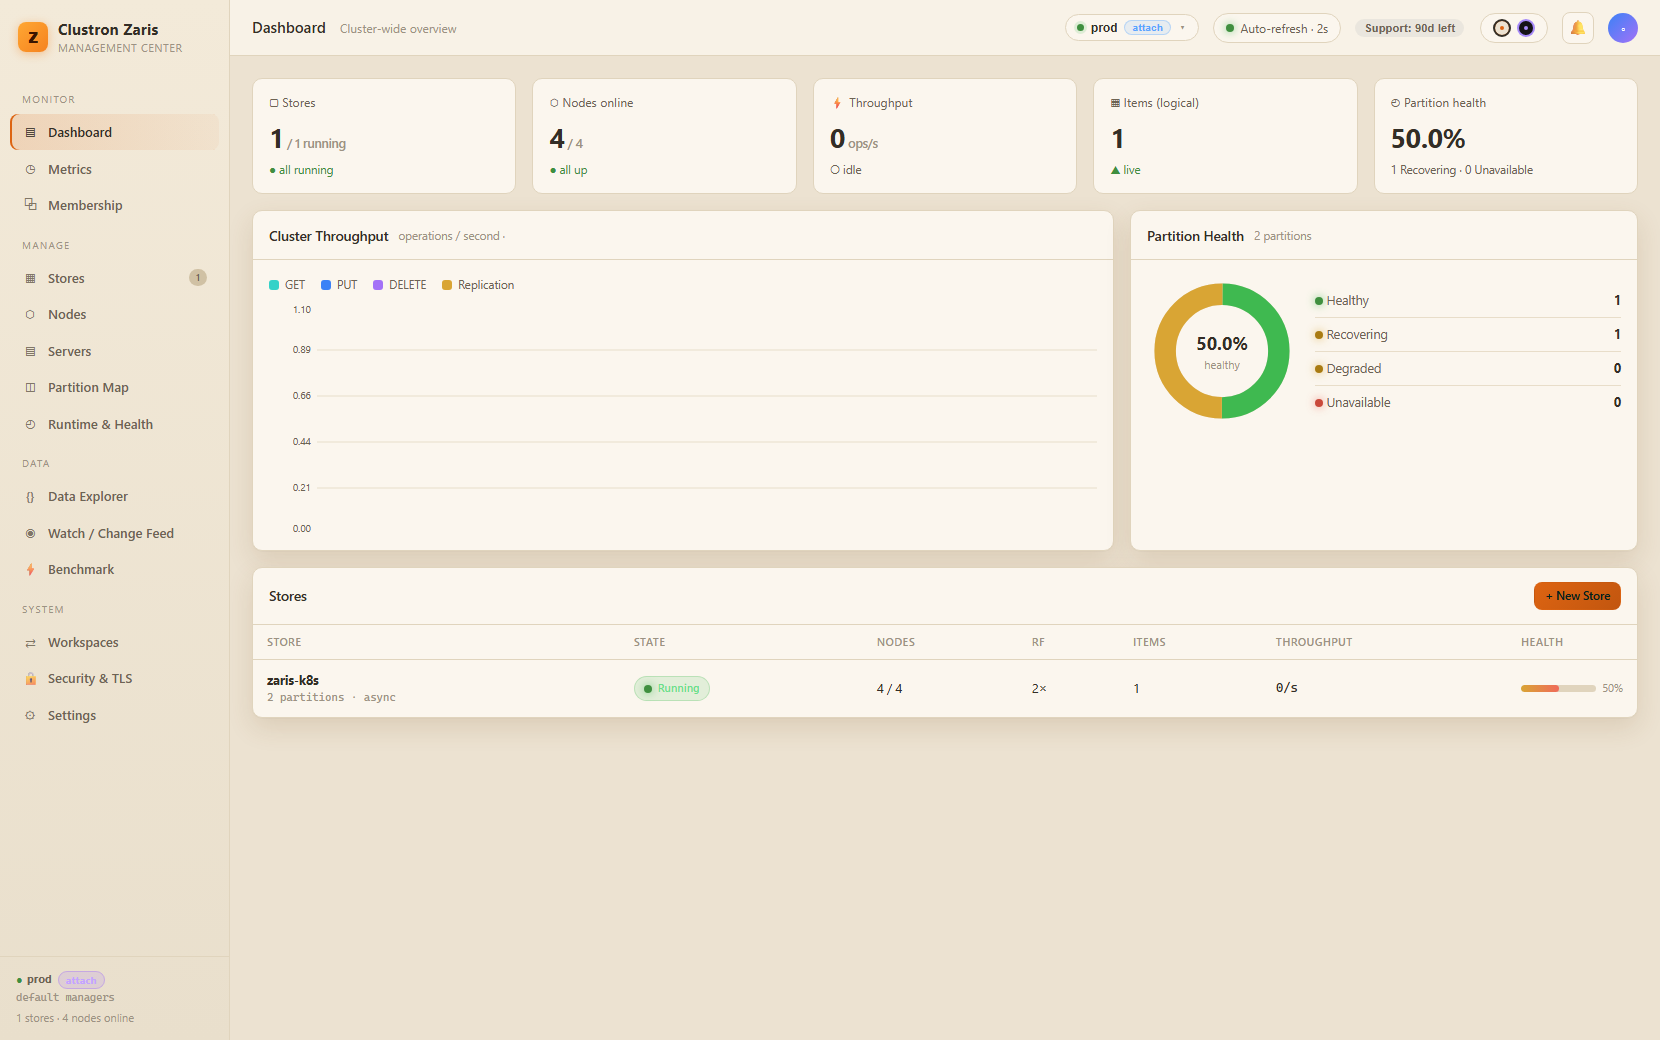
The full walkthrough below — every screen from the video, with the narration transcribed. Skim it, search it, or read it in your own language.
More videos
 Getting Started — a Distributed Cache for .NET in Minutes
 Securing a Distributed .NET Cache — Authentication & RBAC
 TLS & Mutual TLS for a Distributed .NET Cache
 Distributed In-Memory Cache Architecture, Explained
 Linear Scaling Benchmark — 1 → 2 → 3 Nodes, Live
 Any Language, One Store — Zaris Speaks Redis
 Drop-in Redis — Point StackExchange.Redis at Zaris
 Native Data Structures in .NET — Hashes, Lists, Sets, Sorted Sets
 Redis Streams, Native — Event Log + Consumer Groups
 ASP.NET Core Caching Without Redis — IDistributedCache & HybridCache
 Elastic Scaling — Add Nodes Live
 Pub/Sub in .NET — Cluster-Wide Messaging